Learn how to create a list/Grid view switcher with jQuery to switch the post/products. The plugin base on the jquery toggle on-click event buttons.
The plugin comes with nice and clean layout. The layout design developed by using the bootstrap framework. So if you are working with bootstrap or want to integrate this plugin, you can easily do that.
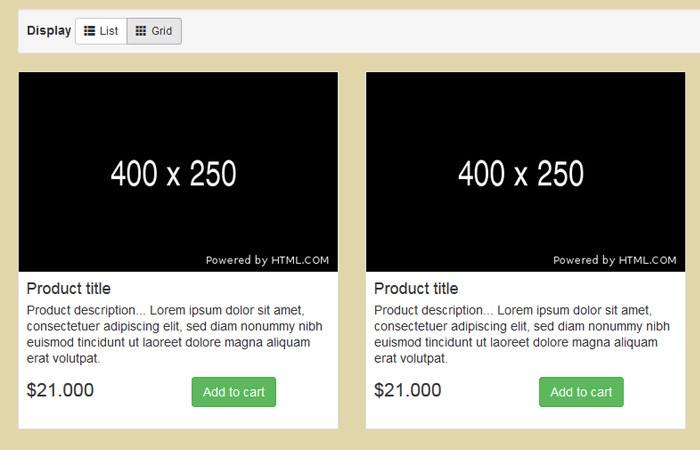
By default, the posts will be listed as a grid and when the user clicks on the list toggle button, the layout of the post will be converted into the list.
Similar when the user clicks on the Grid button the post layout revert back to a Grid layout. It’s a simple plugin that allows you to quickly implement the toggle functionality.
How to Use List/Grid View Switcher
Let’s load the all required files into the document. Because the plugin base on the bootstrap frame so you also need to load the framework files.
<!--CSS Reset-->
<link rel="stylesheet" href="https://cdnjs.cloudflare.com/ajax/libs/meyer-reset/2.0/reset.min.css">
<!--Bootstrap CSS-->
<link rel='stylesheet' href='https://maxcdn.bootstrapcdn.com/bootstrap/3.2.0/css/bootstrap.min.css'>

<!--jQuery-->
<script src='https://cdnjs.cloudflare.com/ajax/libs/jquery/2.1.3/jquery.min.js'></script>

<!--Bootstrap JS-->
<script src='https://maxcdn.bootstrapcdn.com/bootstrap/3.2.0/js/bootstrap.min.js'></script>
Our next step to add the CSS and Javascript files for list and grid view switcher.
<!--CSS for List/Grid View Switcher-->
<link rel="stylesheet" href="css/style.css">

<!--jQuery for List/Grid View Switcher-->
<script  src="js/script.js"></script>
The Markup
After that, we will create the markup. Let’s first create the two buttons that will be used to witch the list/grid view. We will simply create a div and place the two-button with a unique ID.
<div class="well well-sm">
    <strong>Display</strong>
    <div class="btn-group">
        <a href="#" id="list" class="btn btn-default btn-sm"><span class="glyphicon glyphicon-th-list"></span>List</a>
        <a href="#" id="grid" class="btn btn-default btn-sm"><spanclass="glyphicon glyphicon-th"></span>Grid</a>
    </div>
</div>
Finally, we will define the container and write the HTML code for list of posts. The following code is only for a single post/product but you can simply copy & paste and create unlimited posts.
Ofcourewse, if you are working on a dynamic website then you can need to call the loop query.
<div class="container">
<div id="products" class="row list-group">
    <div class="item  col-xs-4 col-lg-4">
        <div class="thumbnail">
            <img class="group list-group-image" src="https://source.unsplash.com/400x250/?mobile" alt="" />
            <div class="caption">
                <h4 class="group inner list-group-item-heading">
                    Product title</h4>
                <p class="group inner list-group-item-text">
                    Product description... Lorem ipsum dolor sit amet, consectetuer adipiscing elit,
                    sed diam nonummy nibh euismod tincidunt ut laoreet dolore magna aliquam erat volutpat.</p>
                <div class="row">
                    <div class="col-xs-12 col-md-6">
                        <p class="lead">
                            $21.000</p>
                    </div>
                    <div class="col-xs-12 col-md-6">
                        <a class="btn btn-success" href="#1">Add to cart</a>
                    </div>
                </div>
            </div>
        </div>
    </div>
</div>
That’s It. You can customize it as you want. Hope you like it.